Slowed + Reverb / Guide
How to Make Slowed + Reverb Songs in Your Browser
To make slowed + reverb, choose an audio file, lower its playback speed, then add enough reverb to create space without hiding the words. In Karps Music’s browser tool, start at 0.90× speed and 40% reverb, press Play, and download an MP3 when the balance works. The quick version lowers pitch along with speed; preserving the original vocal pitch is a different Studio workflow.
What "slowed + reverb" actually does to a song
Slowed + reverb combines two changes. Slowing the playback stretches the performance over more time. Reverb adds a decaying sound around the original recording, suggesting an acoustic space rather than a completely dry signal.
In the quick browser tool, speed and pitch move together. A lower setting makes the beat slower and the singer deeper. This is varispeed, the same basic relationship described in Audacity’s Change Speed and Pitch documentation.[1] It is not an AI voice transformation, and the browser tool does not offer a separate pitch control.
Reverb is independent of that speed choice. Karps’ quick version uses a synthetic stereo reverb and an amount slider, not recordings of different rooms. Raising that slider blends in more reverberation; it does not select a larger room. That distinction matters when following recipes made for another editor.
Choose a track you own or have permission to edit. A clear source gives you a better basis for decisions than an already distorted copy. Keep the original file unchanged so you can return to it.
How to make slowed + reverb in your browser (step by step)
Open the slowed + reverb maker. You do not need an account for the quick version, and its audio processing happens locally in your browser. The current input limits are five minutes and 80 MB; whether a particular file opens also depends on your browser’s decoder.
- Step 1
Choose file
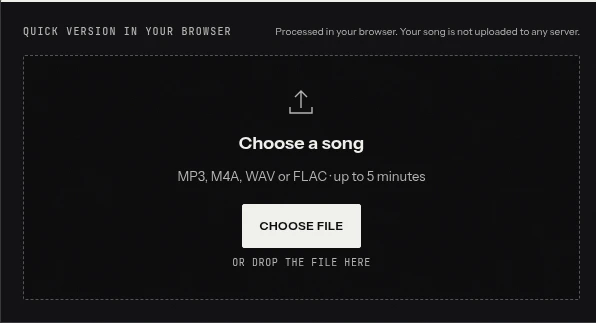
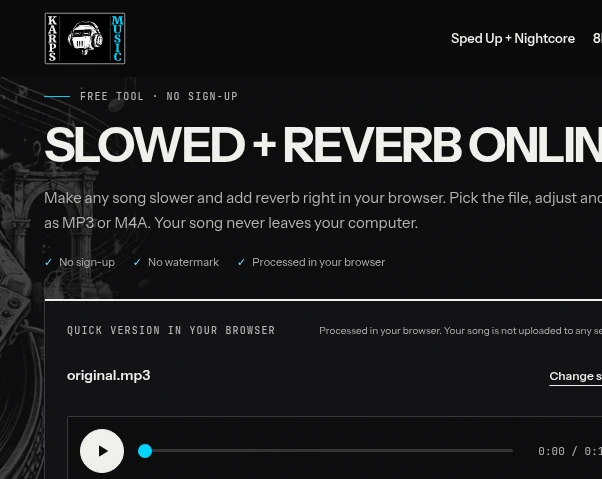
Open a supported audio file you own or have permission to edit. The quick tool accepts inputs up to five minutes and 80 MB.
- Step 2
Set speed
Start at 0.90× and compare a verse with a busy chorus. Lower values also lower the pitch.
- Step 3
Set reverb
Begin at 40%, then reduce it if the original already sounds spacious.
- Step 4
Listen
Press Play and use Position in the song to check a dense section before exporting.
- Step 5
Download
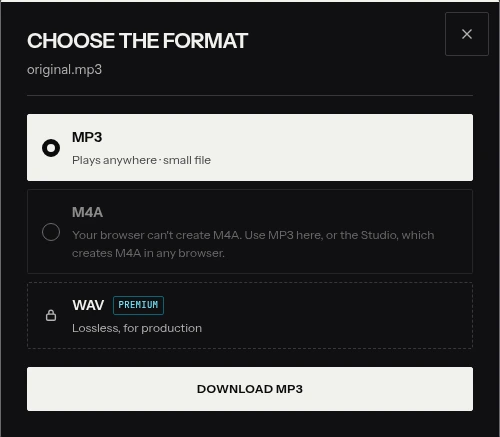
Choose Download song, select MP3, and keep the page open until processing completes.
Choose file
Select your audio with Choose file, or drop it into the upload area. MP3, M4A, WAV and FLAC are the formats suggested in the interface. If a file fails to open, try a fresh supported export rather than changing its extension: renaming a file does not change the audio inside it.
Set speed, then reverb
The speed range is 0.70×–1.00×. Begin at the default 0.90×, which keeps the result closer to the source than the lowest setting. Listen to a verse and a chorus before trying 0.85× or 0.80×.
The default reverb amount is 40%. That is a starting point, not a recommendation for every mix. If the original already has a spacious vocal, reduce it. For a dry, sparse recording, increase it gradually until the gaps feel connected without swallowing the next lyric.
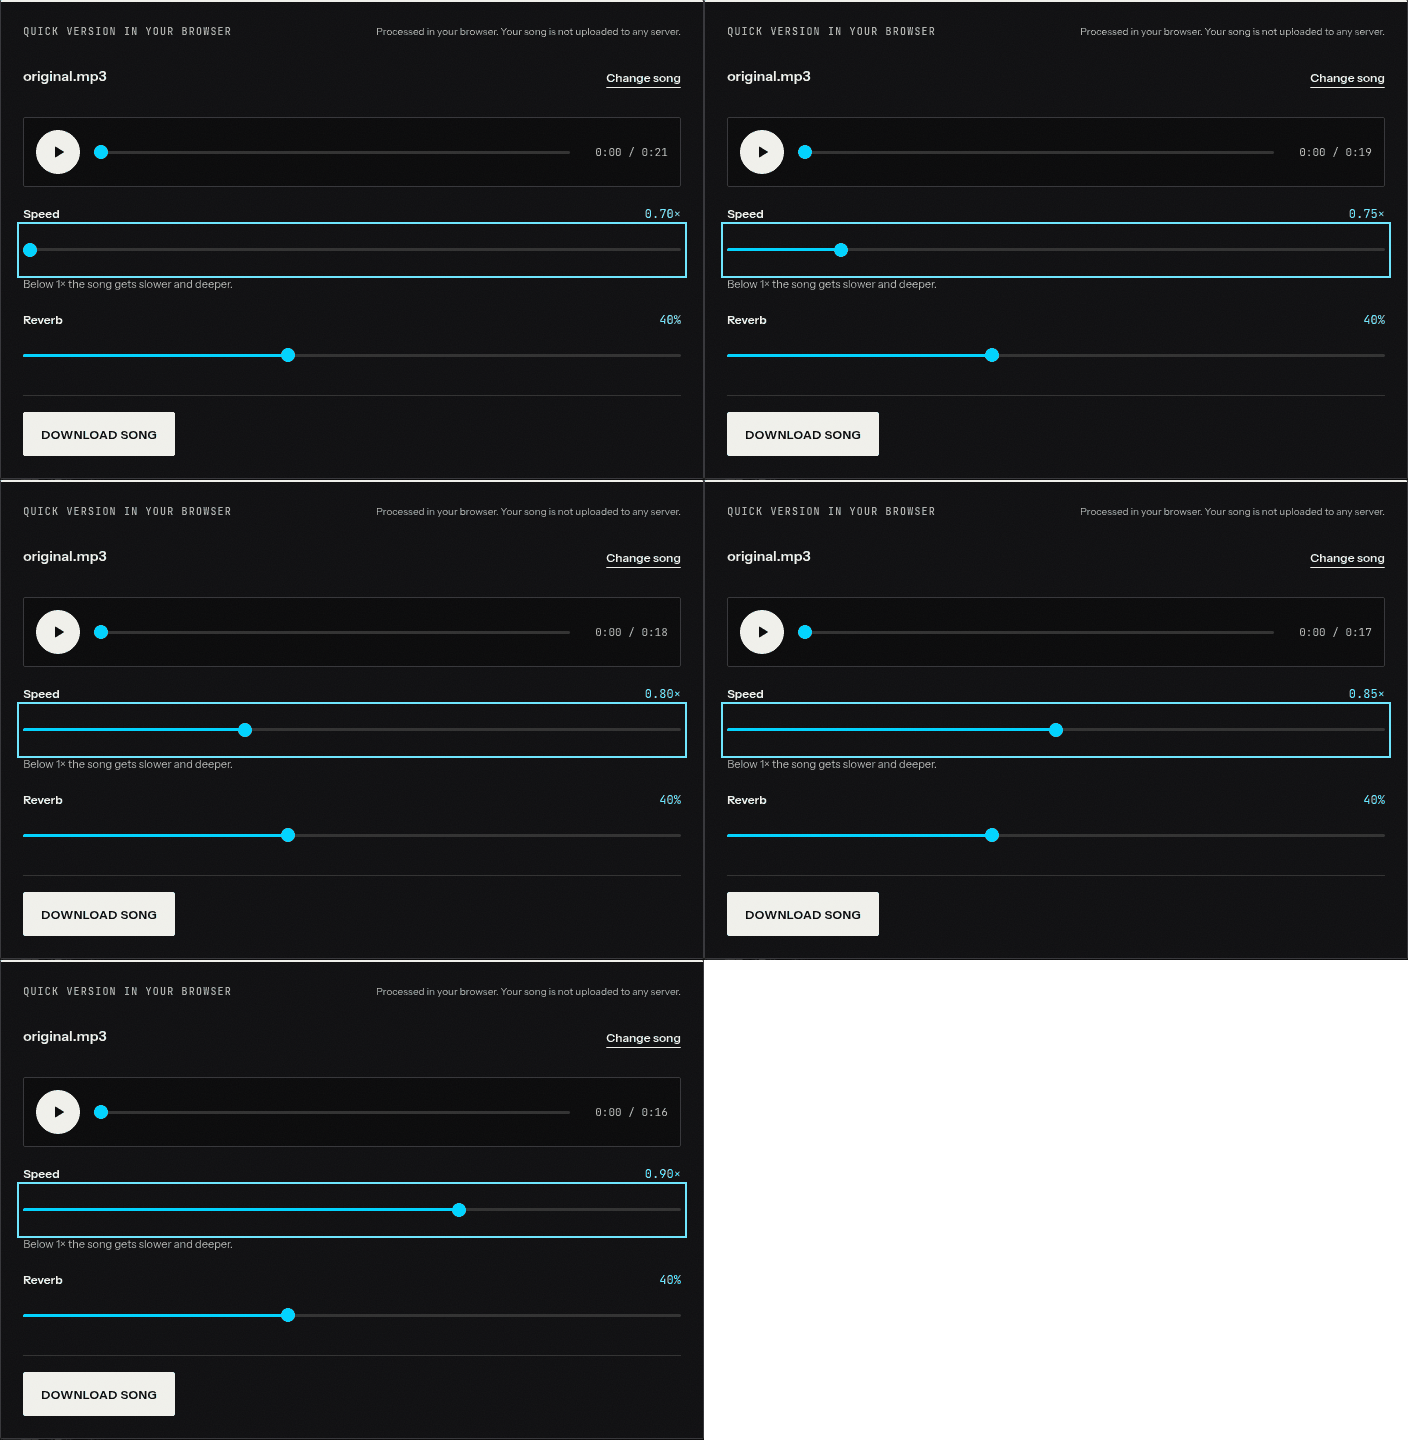
Open the image to watch a short recording of the real speed slider moving between 0.70× and 0.90×. The animation only opens when you choose to watch it.
Play, compare, download
Use Play and the position control to check a dense section, not only a quiet introduction. Change one slider at a time. Once the result works, choose Download song, select MP3, and let the browser finish processing. M4A is available only when the browser supports its encoder; WAV export belongs to Studio Premium.
Keep the page open while exporting. On a phone, start with a shorter file if decoding or export struggles with memory. There is no need to upload a longer file repeatedly when the tool has already reported its duration limit.
The best settings: a starting point, not a rule
A useful first comparison is 0.90×, 0.80× and 0.70× with the same reverb amount. These examples let you separate the speed choice from the temptation to add more atmosphere at every step.
Listen for the end of a sung word, the gap after a snare, and whether the bass still has a distinct beginning. Prefer the version that preserves the elements you care about. The deepest version is not automatically the most emotional one.
| Starting point | Speed | Quick reverb | What to check |
|---|---|---|---|
| Light change | 0.90× | 20–40% | Does the vocal remain easy to follow? |
| Spacious vocal edit | 0.85× | 25–40% | Do consonants stay clear? |
| Heavier, slower edit | 0.80× | 15–35% | Does the kick separate from the bass? |
| Ultra-slow experiment | 0.70× | 10–25% | Does the rhythm still move? |
These are editorial starting ranges, not measured genre laws. A dense phonk track may need less added reverb than a sparse vocal recording; a lofi track may already have plenty. For more detailed comparisons, use the slowed + reverb settings guide.
Slowed vs ultra slowed
There is no universal boundary between “slowed” and “ultra slowed” in a video title. Here, use “slowed” for a moderate change and “ultra slowed” for a more pronounced one, then include the actual speed when sharing your settings.
Try 0.90× first, then 0.80×, then 0.70×. If the groove loses its shape before the lowest setting, stop earlier. An edit can feel heavy without being extremely slow. A repeated listening comparison is more useful than trying to match a label.
Do not assume a named Studio preset equals a browser slider position. The browser provides continuous varispeed; Studio offers separate tempo and pitch effects. If you move between them, describe the controls you actually used rather than copying the same recipe name.
Common mistakes: muddy bass, too much reverb, voice too deep
Muddy bass: set reverb to zero temporarily. If the low end is still unclear, move speed closer to 1.00× before adding effects. If clarity returns only when reverb is off, bring the amount back slowly and stop sooner.
Too much reverb: compare a phrase with a short pause after it. You should still hear the start of the next word. Audacity’s reverb manual explains the dry original and wet reverberation components; their balance, not just the presence of an effect, determines how prominent the reverb sounds.[3]
Voice too deep: raising the reverb will not restore the vocal’s pitch. Increase speed or use a tempo-preserving workflow. Do not try to fix a pitch decision with a space effect.
The introduction sounds good but the chorus collapses: check the busiest section before exporting. A setting that suits a single instrument can be too much once the full arrangement arrives. Keep a short note of the speed and amount so you can recreate the version you chose.
Want a natural voice? Slowed in the Studio
If you want a slower rhythm without deliberately lowering the singer’s pitch, use the Studio’s separate tempo controls. That is a different operation from browser varispeed, not a hidden switch in the free tool. Preserving pitch does not guarantee that every extreme slowdown will be artifact-free; Audacity’s Change Tempo documentation makes the same distinction and warns about extreme settings.[2]
Karps Studio also offers recorded-space reverbs, including Booth, Hall, Stairwell and Dome. Those reverb effects require Premium. Basic Slowed is available on the Studio Free plan, while other effects depend on the plan. Compare the available sounds in the demo before choosing a paid workflow; you do not need to upgrade merely to decide whether you like a deeper browser edit.
Can I upload slowed + reverb to YouTube?
Changing speed or adding reverb does not give you permission to publish someone else’s recording. Check the rights to the recording and composition, and the scope of any license, before uploading.
YouTube’s Content ID guidance says a matched video can be blocked, monetized or tracked according to the owner’s policy. A Content ID claim is different from a copyright strike, and an unclaimed upload is not proof of permission.[11]
Read slowed + reverb, copyright and YouTube before building a public channel. For the listening side, why slowed songs can sound better explores the appeal without treating personal taste as a universal result.
Make one restrained version first, listen all the way through, and save the settings that actually suit your track.
Sources
Frequently asked questions
Can I make slowed + reverb without signing up?
Yes. The quick browser tool lets you choose a supported local file, preview the effect and download MP3 without an account, within its input limits.
Why does the voice sound deeper?
The browser tool changes playback rate, so pitch falls along with speed. Use Studio tempo controls if you want to preserve the original pitch.
Is 40% reverb the best setting?
No. It is the default starting point. Existing reverb, arrangement and your taste determine whether you need less or more.
Can I export WAV for free here?
The quick tool exports MP3 and, in supported browsers, M4A. Lossless WAV export is a Studio Premium feature.